

Modified Toaster Reflow Oven:
This is a heavily modified toaster oven I built in summer 2018. I modified the oven to withstand the high temperatures involved in reflow soldering and to maintain them in order to precisely follow a temperature curve. The original oven was this one from Amazon, which was modified using this open source kit, following this build guide.
Modifications made to the oven:
All air gaps in walls of oven chamber sealed with high temperature silicone
Aluminum and glass fiber insulation added to inside of oven chamber (including door)
Reflect-A-Gold heat reflective tape applied inside oven chamber (including door)
Empty spaces in oven filled with ceramic insulating blanket and fiberglass welding blanket
Hole drilled in oven chamber wall, temperature probe installed, hole sealed with silicone
Original timer and temperature control circuitry removed
Additional “boost” heating element installed
Solid state relays installed with an aluminum heatsink to control heating elements
Controller power supply installed
Metal bracket added to door so that it can be pushed open by a servo
Servo motor and controleo3 oven controller mounted
Controller wired to servo, relays and power supply
High temperature fiberglass insulation added to wires
Reflowing:
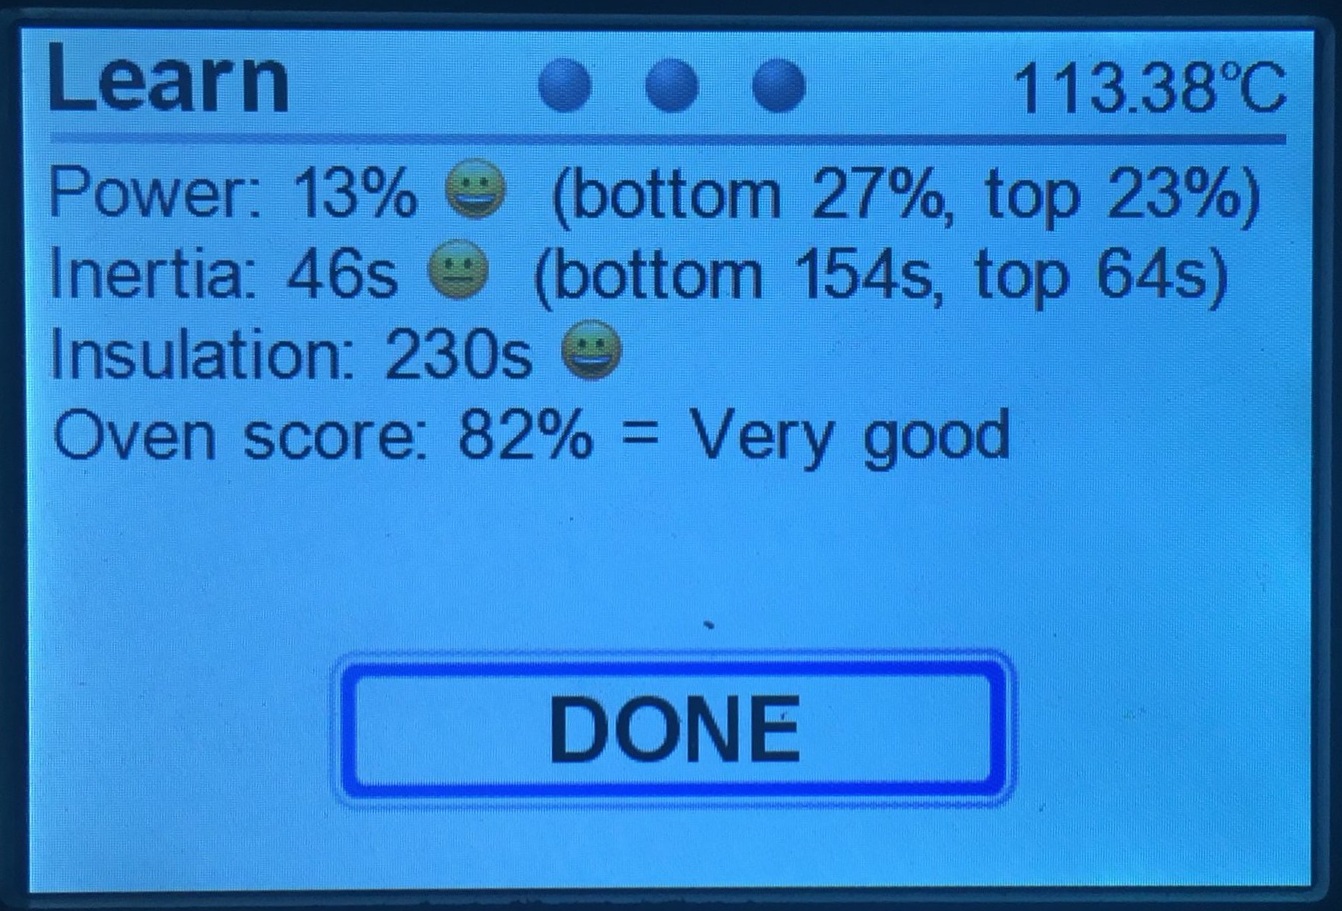
During the reflow process, the oven must precisely follow a temperature curve like the one to the left in order to avoid overheating components but make sure that all of the solder has a chance to melt and properly. The board must be placed as close as possible to the temperature probe in order for the measurements to accurately represent the actual status of the board. The bottom image are the results from calibrating the oven.
For the specific type of low temperature solder paste I use, I programmed the reflow profile provided by the manufacturer into the oven controller. The oven takes care of heating and cooling the board at the right rate so I only need to place my board in the oven, press start and wait 4 minutes to have a finished product.